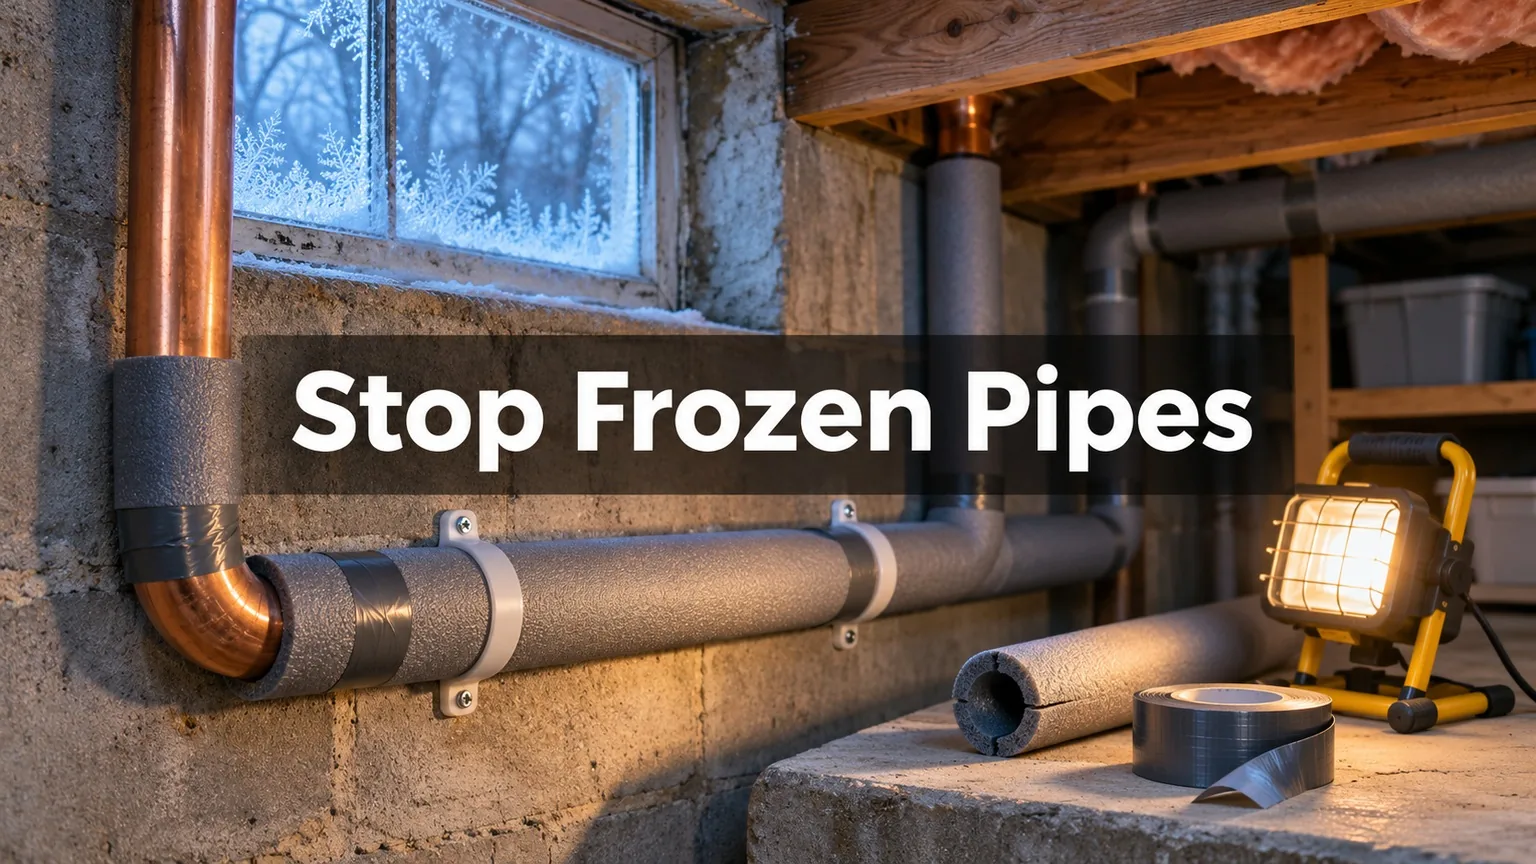
To prevent frozen pipes, keep your thermostat at 55°F or higher day and night, insulate any pipe that runs through an unheated space, disconnect garden hoses and shut off outdoor spigots before the first hard freeze, and let the faucet farthest from your main shutoff drip during deep cold snaps. Open the cabinet doors under sinks on outside walls so warm room air can reach the plumbing. Those five habits cover most of the risk in a typical house, and the supplies for all of them usually cost less than $100.
The stakes are high because a frozen pipe rarely announces itself until it thaws. Water expands as it freezes, pressure builds between the ice and a closed faucet, and the pipe splits. Insurance Information Institute data puts the average homeowners claim for water damage and freezing at close to $14,000. The guide below walks through which pipes are most exposed, what each prevention step costs, what to do on the coldest nights, and how to thaw a pipe safely if one freezes anyway.
When pipes actually freeze
Pipes do not freeze the moment the forecast hits 32°F. Indoor pipes are generally at risk once outdoor temperatures fall to around 20°F, especially if the cold lasts several hours or the pipe sits inside an exterior wall. Outdoor spigots and exposed lines are vulnerable sooner, at about 28°F held for a few hours. Wind makes it worse because it pulls heat out of walls, crawl spaces and attics much faster than still air.
Homes in the South are often more exposed than homes in Minnesota. Northern houses tend to have plumbing routed through heated interior walls and basements below the frost line. In Texas, Georgia or the Carolinas, it is common to find pipes in attics, slab-edge walls and vented crawl spaces with little or no insulation, so a rare 15°F night can do more damage there than a routine one up north.
Where to look for at-risk pipes
Spend 20 minutes with a flashlight before winter and note every spot where water lines pass through a space you do not heat. The usual suspects:
- Outdoor hose bibs and the short run of pipe just inside the wall behind them.
- Pipes in crawl spaces, especially near foundation vents.
- Lines in an unheated garage, including the supply to a washer or utility sink.
- Attic pipes, which are common in homes built on slabs.
- Kitchen and bathroom sinks on exterior walls, where the cabinet traps cold air against the wall.
- Pipes near rim joists in basements, where the foundation meets the wood framing and air leaks are common.
- Irrigation backflow preventers and pool equipment.
If you can see daylight or feel a draft near a pipe, that gap matters as much as the pipe itself. Seal it with caulk or low-expansion spray foam before you add insulation.
Prevention options compared by cost
Most fixes are cheap. The bigger spending decisions are heat cable and leak detection, which make sense for specific situations rather than every house. Prices below are typical big-box retail ranges and vary by region and brand.
| Method | Typical cost | Best for | Limits |
|---|---|---|---|
| Foam pipe sleeves | $2 to $5 per 6-foot length | Accessible pipes in crawl spaces, basements, garages | Slows heat loss but adds no heat; useless if the space stays below freezing for days |
| Insulated faucet cover | $3 to $10 each | Outdoor spigots | Works only after the hose is removed and the line drained |
| Self-regulating heat cable | $40 to $150 per run | Pipes in spaces that regularly drop below freezing | Needs a GFCI outlet; follow the maker’s rules on covering it with insulation |
| Sealing gaps and vents | $10 to $30 for caulk and foam | Drafts near rim joists, wall penetrations, crawl space vents | Some crawl space vents should stay open for moisture control; check local practice |
| Wi-Fi leak and temperature sensor | $20 to $60 per sensor | Vacation homes and anyone away in winter | Alerts you but does not stop the water |
| Automatic water shutoff valve | $300 to $1,000+ installed | Second homes, frequent travelers, finished basements | Highest upfront cost; some insurers offer a discount for it |
Example: Dana owns a 1970s ranch house in Nashville with about 30 feet of exposed copper in a vented crawl space and two hose bibs. Foam sleeves for the crawl space run about $20, two faucet covers about $12, and a can of foam for the gap where the line enters the house about $8. For roughly $40 and an afternoon, she has covered the pipes most likely to freeze in her house.
Before the first hard freeze: a setup checklist
Do this once in fall, ideally before nighttime lows start dipping into the 20s. It takes most people an hour or two.
- Find your main water shutoff and make sure it turns. It is usually where the line enters the house, in a basement, crawl space, utility closet or a curb box near the street. Tag it so anyone in the house can find it fast.
- Disconnect every garden hose. A hose left attached holds water in the spigot, and that water freezes back into the wall.
- Shut off the indoor valve that feeds each outdoor spigot (if you have one), then open the spigot outside to drain it. Leave it open for the winter. Frost-free sillcocks do not need a separate shutoff, but the hose still has to come off.
- Blow out or drain irrigation lines, or schedule your irrigation company to do it.
- Seal drafts around pipes with caulk or foam, then slip foam sleeves over exposed lines. Tape the seams so the sleeve does not split open.
- Install heat cable on any pipe that sits in a space you cannot keep above freezing, following the package directions exactly.
- Close the garage door habitually, especially if water lines run through it.
- Put an inexpensive temperature sensor in the coldest spot that has plumbing, so you know how cold it really gets.
What to do on the coldest nights
When the forecast calls for lows near 20°F or below, especially with wind, add a few temporary measures.
Keep the thermostat steady. Setting it back to 62°F overnight is fine most of the winter, but during a hard freeze leave it at your daytime setting. Never drop below 55°F, even if you are leaving.
Open the cabinet doors under kitchen and bathroom sinks on outside walls. Move cleaning supplies up high if you have small children or pets.
Let a faucet drip. Choose the one farthest from the main shutoff so water moves through as much of the system as possible. A slow, steady drip of cold water is enough; if the faucet has a single handle, set it to the middle so both hot and cold lines get some flow. The point is less about keeping water warm and more about relieving pressure if ice does form.
Example: A slow drip uses roughly a gallon or two an hour. Over a three-night cold snap, that is under 150 gallons, which costs a dollar or two on most water bills. Compare that with a typical frozen pipe insurance claim, plus your deductible, and the drip is an easy call.
Leaving home in winter
Travel is when most burst-pipe disasters happen, because nobody is there to notice the first leak. If you will be gone more than a night or two during cold weather:
- Set the thermostat to at least 55°F and replace the furnace filter before you go.
- Ask someone to check the house daily, and show them where the main shutoff is.
- For trips longer than a few days, consider shutting off the main valve and opening the faucets to drain the lines. Turn off the water heater or set it to vacation mode first, following the manufacturer’s directions.
- If you have a smart thermostat, turn on alerts for low indoor temperature so you hear about a furnace failure right away.
Read your homeowners policy before a long winter trip. Many policies exclude freeze damage if the home was left unheated or the owner did not take reasonable steps to maintain heat or drain the system. Vacant homes often have tighter rules, so a second home or a house that is on the market deserves a call to your agent.
Signs a pipe is frozen and how to thaw it safely
The first clue is usually a faucet that gives a trickle or nothing at all when the rest of the house has water. You may also see frost on an exposed pipe or a slight bulge. Act quickly but calmly.
- Keep the faucet open. As the ice melts, water needs somewhere to go, and running water helps melt the rest.
- Find the frozen section. Start nearest the faucet and work back toward exterior walls, crawl spaces or the garage.
- Apply gentle heat: a hair dryer, a portable space heater kept well away from anything flammable, a heating pad, or towels soaked in hot water. Work from the faucet end back toward the frozen area.
- Never use a propane torch, kerosene heater, charcoal or any open flame. Torches start house fires and can make steam build up inside the pipe.
- Keep heating until full water pressure returns, then check the whole run for drips or wet spots.
- If you cannot reach the frozen section, or the pipe is inside a wall, call a licensed plumber.
If a pipe has already burst, shut off the main water valve first, then turn off electricity to any area where water is near outlets or appliances. Take photos before you clean up, and call your insurer promptly. Most policies require you to limit further damage, so start drying things out with fans and towels right away.
Example: Marcus wakes up to no water in his upstairs bathroom after a 12°F night. The pipe runs through an outside wall he cannot open. He leaves the faucet open, turns the thermostat up to 72°F, opens the vanity doors and points a space heater at the wall from three feet away. Water starts trickling within about an hour. That afternoon he calls a plumber to check the wall cavity and plans to add insulation when the weather warms up.
Common questions
At what temperature do pipes freeze?
Pipes inside a home are generally at risk once it drops to around 20°F outside for several hours. Exposed outdoor pipes and spigots can freeze at about 28°F. Wind, poor insulation and pipes in exterior walls all raise the risk.
Should I drip hot or cold water?
Cold is the usual advice, since the cold supply line is most often the one that freezes. On a single-handle faucet, set the handle in the middle so both lines get a little flow. A slow, steady drip is enough.
How long does it take for pipes to freeze?
An unprotected pipe in an unheated space can freeze in as little as six to eight hours of hard cold. Insulated pipes in heated areas can hold out much longer. That is why overnight lows matter more than daytime highs.
Does homeowners insurance cover frozen pipes?
Standard policies usually cover sudden water damage from a burst pipe, though the pipe repair itself may or may not be included. Claims can be denied if the home was left without heat or the owner did not take reasonable care. Check your policy language and your deductible before winter.
Is pipe insulation enough on its own?
Foam sleeves slow heat loss but add no heat. In a space that stays below freezing for days, insulated pipes can still freeze, so pair insulation with sealing drafts and, where needed, heat cable.
Before you lose sleep over the next cold snap
- Know where your main shutoff is and confirm it works.
- Get hoses off and outdoor spigots drained before nights reach the 20s.
- Insulate and seal around every pipe in a crawl space, garage, attic or exterior wall.
- On nights near 20°F or colder, keep the heat steady, open sink cabinets and let one faucet drip.
- Never thaw a pipe with an open flame.
- If you travel, keep the heat at 55°F or more, line up a house checker, and read your policy’s freeze exclusions.
The Ready.gov winter weather page has more on preparing your home for storms and power outages, which often arrive with the same cold fronts that freeze pipes.
Editorial note: This article is general information for US homeowners, with figures checked as of November 2026. Product prices vary by store and region, and coverage depends on your policy, so confirm details with a licensed plumber and your insurance provider.