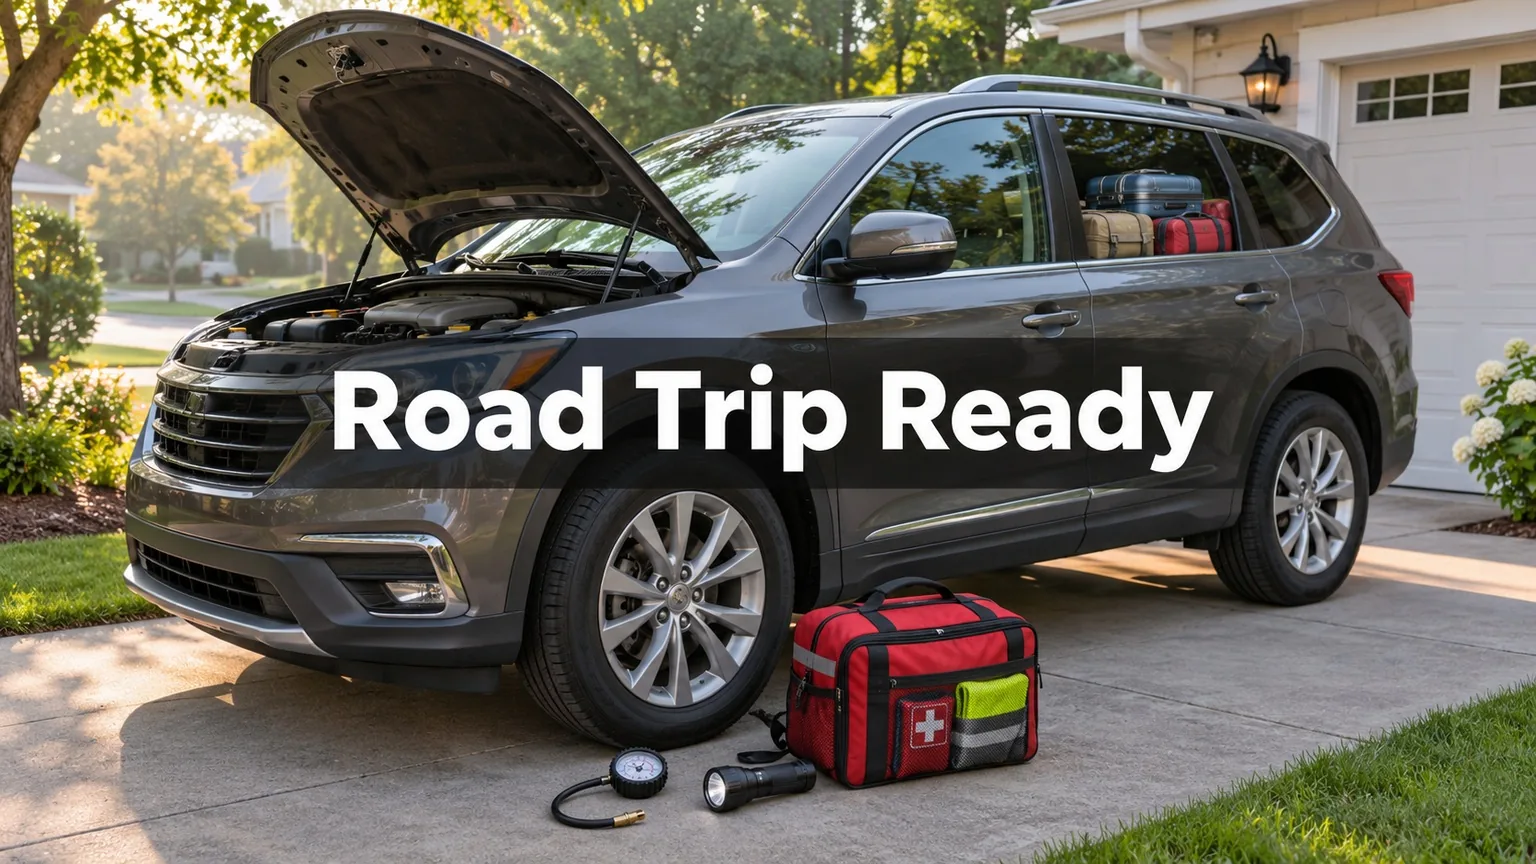
To get your car ready for a long road trip, check five things a week or two before you leave: fluids, tires (including the spare), battery, brakes and wipers. Then pack a basic emergency kit and book a mechanic for anything you can’t fix in the driveway. Most of the checks take about 30 minutes with a tire gauge, a flashlight and a rag, and the common pre-trip fixes (an oil change, wiper blades, a tire rotation) usually cost under $200 combined.
Timing matters. If you check the car the night before and find a bald tire or a weak battery, you either delay the trip or pay whatever the nearest open shop charges. Checking 10 to 14 days ahead leaves time to order parts and compare quotes. The checklist table below is meant to be printed or copied into your phone.
Two weeks out: deal with anything already overdue
Start with what the car is already telling you. A warning light that has been on for a month comes first, because hours of highway speed and heat are when small problems turn into tows. A steady check engine light means get it read soon. A flashing one means a misfire that can damage the catalytic converter, so the car shouldn’t go anywhere far until it is diagnosed.
Next, compare your mileage to the maintenance schedule in the owner’s manual. If an oil change or tire rotation will come due during the trip, do it before you leave, since a 2,000-mile round trip can push an oil change well past its interval. Then run your VIN through the NHTSA recall lookup. Recall repairs are free at a franchised dealer, but parts can take a week or more to arrive.
How to do the 30-minute driveway check
Park on level ground and let the engine cool for at least an hour. You need a tire gauge, a flashlight, a penny, a quarter and some paper towels.
- Pull the oil dipstick, wipe it, reinsert it and pull it again. Oil should sit between the marks. Milky or gritty oil needs a mechanic’s look.
- Check the coolant reservoir is between MIN and MAX. Never open the radiator cap on a hot engine.
- Check the brake fluid reservoir. It should be near MAX and clear to light amber. Dark brown fluid is old.
- Top off windshield washer fluid.
- Check cold pressure on all four tires and the spare against the driver’s door jamb sticker.
- Measure tread depth with the penny and quarter at the inside, center and outside of each tire.
- Test headlights (low and high), brake lights, turn signals and hazards with a helper.
- Run the wipers with washer spray. Streaks or chatter mean new blades.
- Look at visible belts and hoses for cracks, fraying, bulges or soft spots near clamps.
- Check the ground where the car sat overnight. Clear water from the AC is normal. Green, orange, pink, brown or red puddles are not.
Tires and the spare
Tires end more road trips than any other part, and they are the easiest to check. Set pressure to the door jamb number when the tires are cold, not the maximum printed on the sidewall.
The legal tread minimum in most states is 2/32 of an inch. Put a penny in the groove with Lincoln’s head down: if you can see the top of his head, the tire is at or below 2/32 and should be replaced before you go. Washington’s head on a quarter marks roughly 4/32, a sensible point to start shopping, especially for a route with rain or snow. AAA’s road trip guidance uses 3/32 as its replacement point.
Check tire age as well. The last four digits of the sidewall DOT code are the week and year of manufacture, so “2419” means the 24th week of 2019. Many manufacturers recommend replacing tires around six years old regardless of tread. Compact spares often call for 60 PSI and lose air sitting in the trunk for years. More on tire safety is on the NHTSA tires page.
Example: Dana plans a 900-mile drive to her parents’ house. Her check finds the fronts at 4/32 and the rears at 6/32, with extra wear on the inside edges of the fronts, a pattern that often points to alignment. She replaces the fronts and gets an alignment ten days before the trip for about $480, rather than gambling on worn tires with a full car.
Battery, brakes and wipers
Car batteries commonly last about three to five years, and heat shortens that. AAA puts the average battery life in Arizona at about 2.5 years. If yours is near that age, ask a parts store or shop for a load test, which many do free. White or green crust on the terminals can also cause a no-start, and a wire brush with baking soda and water cleans it in five minutes.
Brakes warn you before they fail. A high-pitched squeal is often the pad wear indicator. Grinding is metal on metal and needs fixing right away. A pulsing pedal often means warped rotors, and pulling to one side can mean a sticking caliper. Mountain routes, with long downhill grades, are hardest on worn brakes.
Wiper blades usually last six to twelve months. They are one of the cheapest items here, and they matter most on an unfamiliar road in heavy rain at night.
Printable road trip car checklist
Print this or copy it into a note. The last column gives typical shop prices if an item fails, for budgeting only, since prices vary by vehicle, region and shop.
| Item | What “ready” looks like | Typical cost if it needs work |
|---|---|---|
| Engine oil | Between dipstick marks, change not due during trip | $50 to $130 per oil change (synthetic costs more) |
| Coolant | Between MIN and MAX when cold, no leaks | $15 to $25 to top off; $100 to $200 for a flush |
| Brake fluid | Near MAX, clear to light amber | $80 to $150 for a fluid exchange |
| Washer fluid | Full, sprayers aimed at glass | $3 to $6 per gallon |
| Tire pressure (all five) | Matches door jamb, spare included | Free to $2 at most air pumps |
| Tire tread and age | 4/32 or better, under about six years old | $100 to $250 per tire for most cars, plus mounting |
| Tire rotation | Done within schedule | $25 to $60, often free where you bought tires |
| Battery | Passes load test, clean terminals | $150 to $350 installed; AGM batteries cost more |
| Brakes | No squeal, grinding, pulsing or pulling | About $150 to $300 per axle for pads; $250 to $400 with rotors |
| Wiper blades | Clear, streak-free sweep | $15 to $40 per blade |
| Lights | All exterior bulbs working | $5 to $30 per bulb DIY; more for LED units |
| Belts and hoses | No cracks, fraying or soft spots | $100 to $250 for a serpentine belt |
| Warning lights and recalls | Dash clear, no open recalls | Scan $0 to $150; recall repairs free |
Brake ranges come from Kelley Blue Book. The others reflect typical 2026 independent shop and parts store pricing for common sedans, SUVs and small pickups.
Emergency kit and what to pack
Most of a roadside kit is stuff you already own, gathered into one bin that lives in the trunk:
- Jumper cables or a charged portable jump starter
- A 12-volt tire inflator and your tire gauge
- Flashlight or headlamp with spare batteries
- Reflective triangles and a reflective vest
- First aid kit and any prescription medications
- At least a gallon of water and some nonperishable snacks
- Phone cable and a charged power bank
- Work gloves, paper towels and a small multi-tool
- A blanket, plus an ice scraper, warm layers and a small shovel in cold months
- Insurance card and roadside assistance number on paper, in case your phone dies
Confirm the jack and lug wrench are in the car, and find the wheel lock key if your wheels have locking lug nuts. If you don’t have roadside assistance, check your auto policy and credit cards. Towing coverage is often a few dollars a month as an add-on, far less than one out-of-pocket tow on a remote highway.
When to see a mechanic
A simple rule: if the fix means removing a wheel, draining anything besides washer fluid, or touching what makes the car stop, steer or stay cool, book a shop. Go before the trip if you notice:
- A warning light that stays on, especially check engine, brake, oil pressure or temperature
- Brake grinding, a soft pedal or low brake fluid
- Coolant that keeps dropping or a temperature gauge creeping above normal
- Uneven tire wear or vibration at highway speed
- Rough shifting, slipping or a burning smell
- A battery that fails a load test or a slow morning crank
Ask any shop for a written list marked “needs it now” or “can wait,” and get a second quote on anything over a few hundred dollars.
Example: Marcus has a 2016 sedan with 110,000 miles and a 1,400-mile trip ahead. His oil change is due in 300 miles, the battery is six years old and the wipers streak. He pays $75 for the oil change, $210 for a battery and $45 for two blades, $330 in all, and the shop’s free inspection finds nothing else urgent.
What road trip prep usually costs
A car that’s current on maintenance may need nothing beyond washer fluid and air: $0 to $150. One wear item due, such as a battery plus an oil change, typically lands between $150 and $450. Tires or brakes push it to $400 to $1,200 or more, depending on the vehicle and whether rotors are needed.
Example: A family budgeting $1,500 for a week-long driving vacation sets aside $200 for car prep. If the inspection is clean, that money goes to gas. If it finds worn pads, the $200 covers most of a pad job on one axle without touching savings.
Common questions
How far in advance should I prepare my car for a road trip?
About 10 to 14 days ahead is ideal. That leaves time to book a shop and wait for parts. Do a final tire pressure check the morning you leave.
Should I get an oil change before a road trip?
Get one if your next change would come due during the trip or soon after. If it was just changed and the dipstick reads right, you don’t need another. Bring a quart of the correct oil if your engine tends to burn some.
Is a pre-trip inspection worth paying for?
For an older or high-mileage car, a $50 to $150 inspection is cheap compared with a breakdown far from home, and many shops include a basic check free with an oil change. For a newer car that’s current on maintenance, your own driveway check is usually enough.
Can I rely on the tire pressure warning light?
Not on its own. Tire pressure monitoring systems typically warn only when a tire is about 25 percent below its recommended pressure, which is already low enough to hurt handling. Most don’t monitor the spare, so check all five with a gauge.
What changes for a winter road trip?
Add an ice scraper, a shovel, warm layers and winter-rated washer fluid. Hold tread to 4/32 or better, and keep the tank above half full so you have heat if you’re stuck in traffic.
Before you leave
On departure morning, confirm:
- Cold tire pressure checked on all four tires and the spare
- No new warning lights after starting the car
- Emergency kit, jack, lug wrench and wheel lock key in the trunk
- Gas tank full and washer fluid topped off
- Route and rough arrival time shared with someone at home
At each fuel stop, a quick look at the tires catches slow leaks early.
Editorial note: This article is general information. Prices and figures were checked as of November 2026 and vary by vehicle, region and shop. Follow your owner’s manual for maintenance intervals and specifications, and check open recalls at NHTSA.gov.