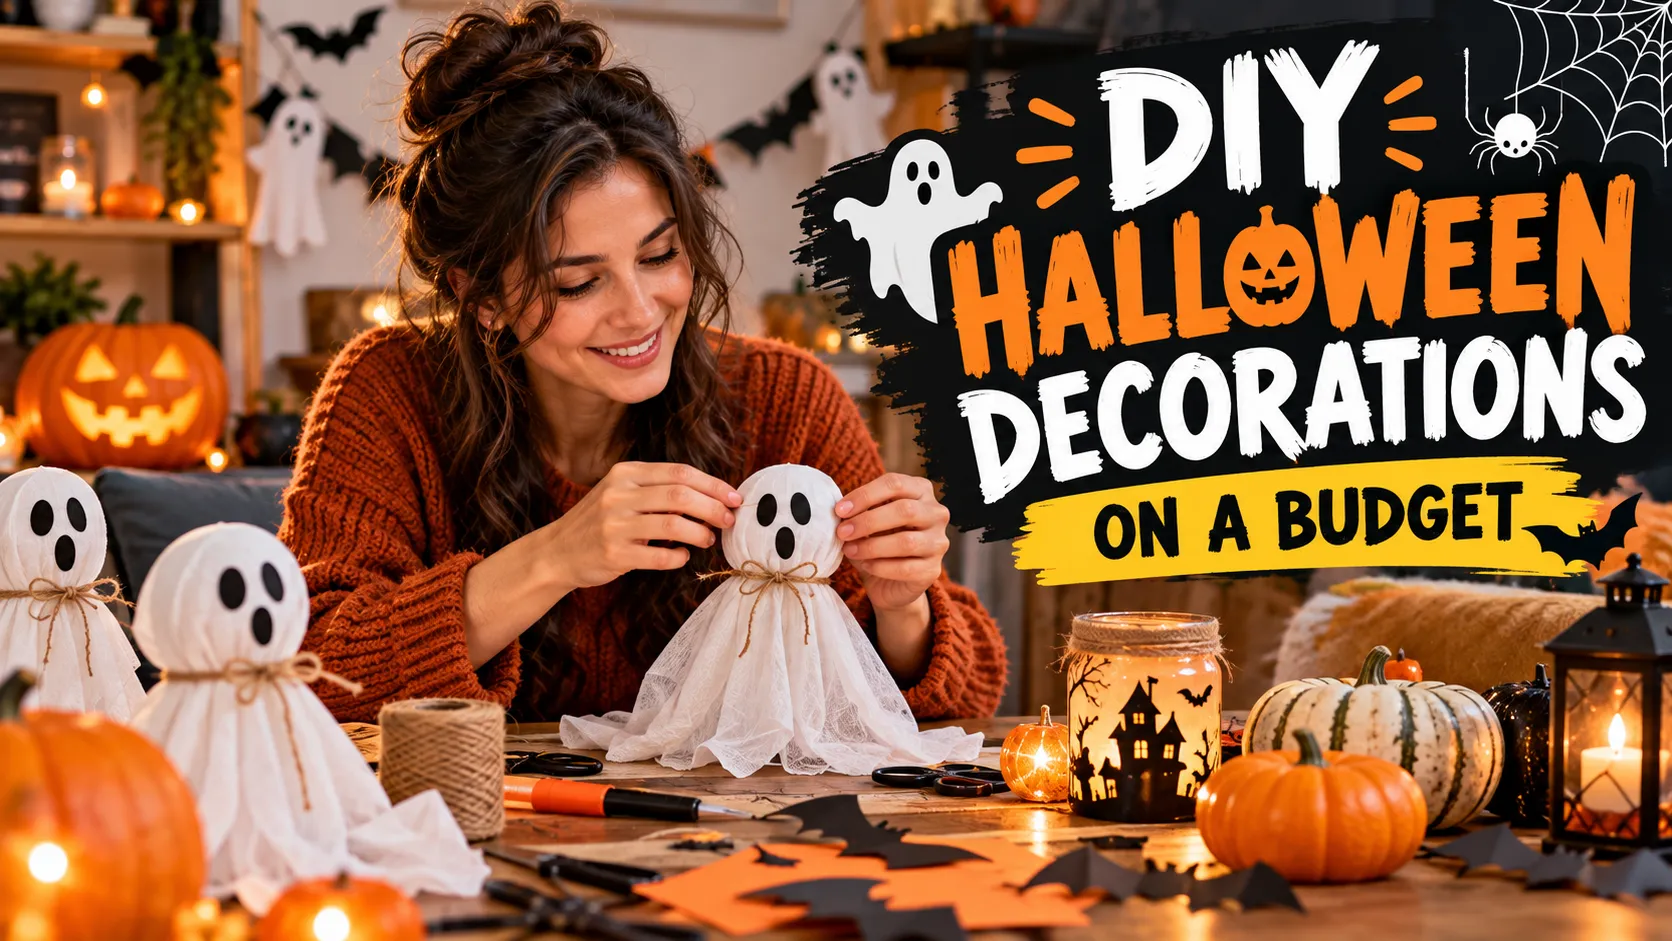
You do not need to spend a lot to make your home look ready for Halloween. Many of the most effective decorations are made from things you already have, such as paper, jars, old sheets and cardboard, plus a few inexpensive craft supplies. The trick to making budget decorations look good is choosing a simple color scheme and repeating a few strong ideas instead of buying lots of separate pieces.
This guide covers easy DIY projects for indoors and outdoors, what each one roughly costs and how long it takes, and how to make inexpensive decorations look more polished.
Start with what you already have
Before buying anything, look around the house. Glass jars become lanterns, old white sheets become ghosts, cardboard boxes become tombstones and black paper becomes bats and silhouettes. Paint, string, tape and battery tea lights cover most of what is left. Dollar stores and the craft section of discount stores are the best places to fill gaps.
Pick two or three colors, such as black and orange or black, white and purple, and stick to them. A consistent palette is what makes homemade decorations look intentional.
Fourteen budget projects
| Project | Main materials | Rough cost and time |
|---|---|---|
| Paper bat wall swarm | Black cardstock, removable tape | Under $5, about 1 hour |
| Mason jar mummy lanterns | Jars, gauze, glue, googly eyes, battery tea lights | Under $10, 30 minutes |
| Sheet ghosts for trees or porch | Old white sheet, balloon or foam ball, string | Nearly free, 30 minutes |
| Cardboard tombstones | Cardboard, gray paint, black marker, stakes | Under $10, 1 to 2 hours |
| Painted pumpkins | Small pumpkins, acrylic or chalk paint | $10 to $15, 1 hour |
| Window silhouettes | Black paper or poster board, tape | Under $5, 1 hour |
| Spooky apothecary jars | Old jars and bottles, printed labels, food coloring | Under $5, 45 minutes |
| Toilet paper roll bats or monsters | Cardboard rolls, paint, paper | Nearly free, 30 minutes |
| Cheesecloth spooky curtains | Cheesecloth, tea or coffee for staining | Under $10, 1 hour plus drying |
| Paper pumpkin garland | Orange paper, string, green paper for stems | Under $5, 1 hour |
| Glowing eyes in bushes | Cardboard tubes, glow sticks | Under $5, 20 minutes |
| Black spray-painted branches in a vase | Fallen branches, black paint, vase | Under $5, 30 minutes plus drying |
| Witch’s broom and hat corner | Broom, thrifted hat, boots | $5 to $15, 15 minutes |
| Chalkboard Halloween countdown sign | Small chalkboard or painted board, chalk | Under $10, 30 minutes |
Costs are rough estimates for supplies bought new at discount and dollar stores, and they will be lower if you use materials you already have.
Example: A family wants a living room that feels festive without new purchases. They cut 40 bats from black cardstock left over from a school project, tape them in a swirl rising up one wall, wrap two empty jars in gauze with tea lights for a mummy pair on the shelf, and add spray-painted branches in a vase. Total spend: a pack of tea lights. The room looks themed because everything is black, white and warm light.
Make cheap decorations look high-end
A few habits make a big difference. Group items in clusters of three or five instead of spreading them around. Use matte black or metallic paint to cover mismatched plastic decorations so they look like a set. Add soft lighting with battery tea lights or warm string lights, which hide imperfections and create atmosphere. And choose a few large statements, such as a bat wall or a row of tombstones, rather than many small trinkets.
Step-by-step: making a paper bat wall
- Make a template. Draw or print a simple bat shape in two or three sizes and cut it out of card.
- Trace and cut. Trace the templates onto black cardstock and cut 30 to 50 bats.
- Fold the wings. Fold each bat gently down the middle so the wings lift off the wall.
- Plan the shape. Lightly mark a swirl or rising path on the wall with removable tape.
- Attach the bats. Start with large bats at the bottom and finish with small ones at the top, using removable tape or putty.
- Step back and adjust. Fill any gaps so the swarm looks like it is flying in one direction.
Decorating safely
Homemade decorations are often made from paper, fabric and cardboard, which catch fire easily. Use battery tea lights in jars, lanterns and pumpkins instead of real candles, and keep paper and fabric decorations away from heaters, lamps and stoves. Outdoors, use only lights rated for outdoor use, keep walkways clear for trick-or-treaters and weigh down lightweight decorations so they do not blow into the street. If you have small children or pets, keep glow sticks, small parts and googly eyes out of reach.
Common questions
What are the cheapest Halloween decorations to make
Paper bats, sheet ghosts, window silhouettes and toilet paper roll crafts cost almost nothing because they use materials most homes already have.
How can I make DIY decorations last more than one year
Use sturdier materials such as cardstock instead of printer paper and foam board instead of thin cardboard, seal painted items with a clear coat and store them flat in a labeled box.
Are dollar store decorations worth it
They can be, especially for basics like cobwebs, tea lights, small skulls and craft supplies. Painting them in one color helps them look like a matched set.
What DIY projects are good for kids
Painted pumpkins, toilet paper roll monsters, paper garlands and window silhouettes are simple, low-mess and safe for children with adult help for cutting.
Before you start
Choose a color palette, gather what you already have and pick two or three projects that make a big visual impact. Light everything with battery candles, keep decorations away from heat and walkways, and save your favorite pieces to reuse next year.
Editorial note: This article is general crafting guidance. Costs are approximate and vary by store and location. Follow product labels for paints, adhesives and lights, and supervise children when using scissors and small parts.